About Mercurie Cards
Mercurie Cards are virtual cards you create from your Mercurie dashboard to pay for global software, cloud, and advertising bills — in Naira.
You fund your Mercurie wallet locally by bank transfer or card, convert to USD when you need it, and issue as many virtual cards as you want. Cards are international cards issued through our infrastructure partners, so they work with the platforms Nigerian businesses are usually declined on: Google Ads, Meta Ads, AWS, Google Cloud, and everyday SaaS subscriptions.
What you can do with them
- Issue a card per purpose or per person. Name a card "Meta Ads" or "Cloud Services", give it its own spending limit, and keep costs separated.
- Stay in control of spend. Set limits per card, see every transaction in your dashboard, and freeze or delete a card whenever you need.
- Pay in NGN or USD. Create a Naira card from your NGN balance, or a USD card for international platforms.
- Keep oversight of your team. Give team members their own cards for their subscriptions while you manage everything centrally.
Cards are available to all verified Mercurie businesses. You'll need to complete identity verification once before your first card — the steps below walk through the whole flow, from account to active card.
See Card fees for the full fee schedule.
Step 1: Create a Mercurie Account
Visit mercurie.com and sign up for a new account, or sign in if you already have one.
Step 2: Update your Personal Information
Once you are logged into your Mercurie dashboard, click on 'Virtual Card' from the navigation menu. A welcome modal will appear directing you to update your identity.
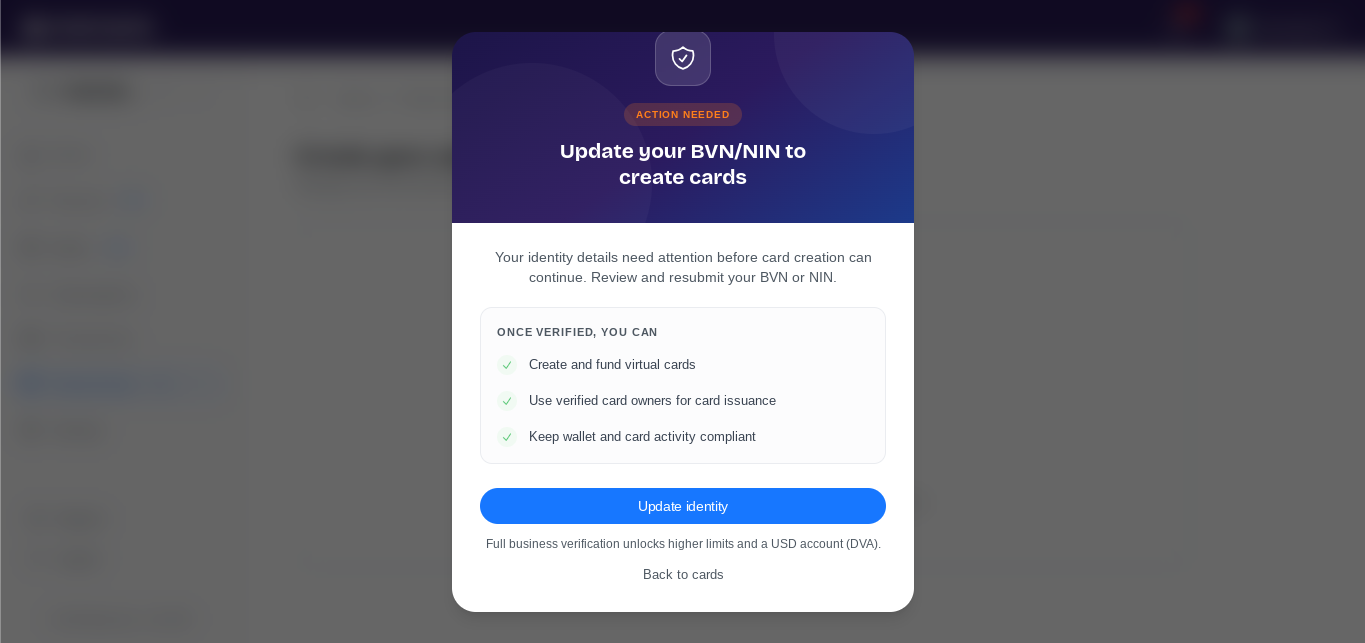
Click the 'update identity' button to open profile settings so you can provide and save your required personal details.
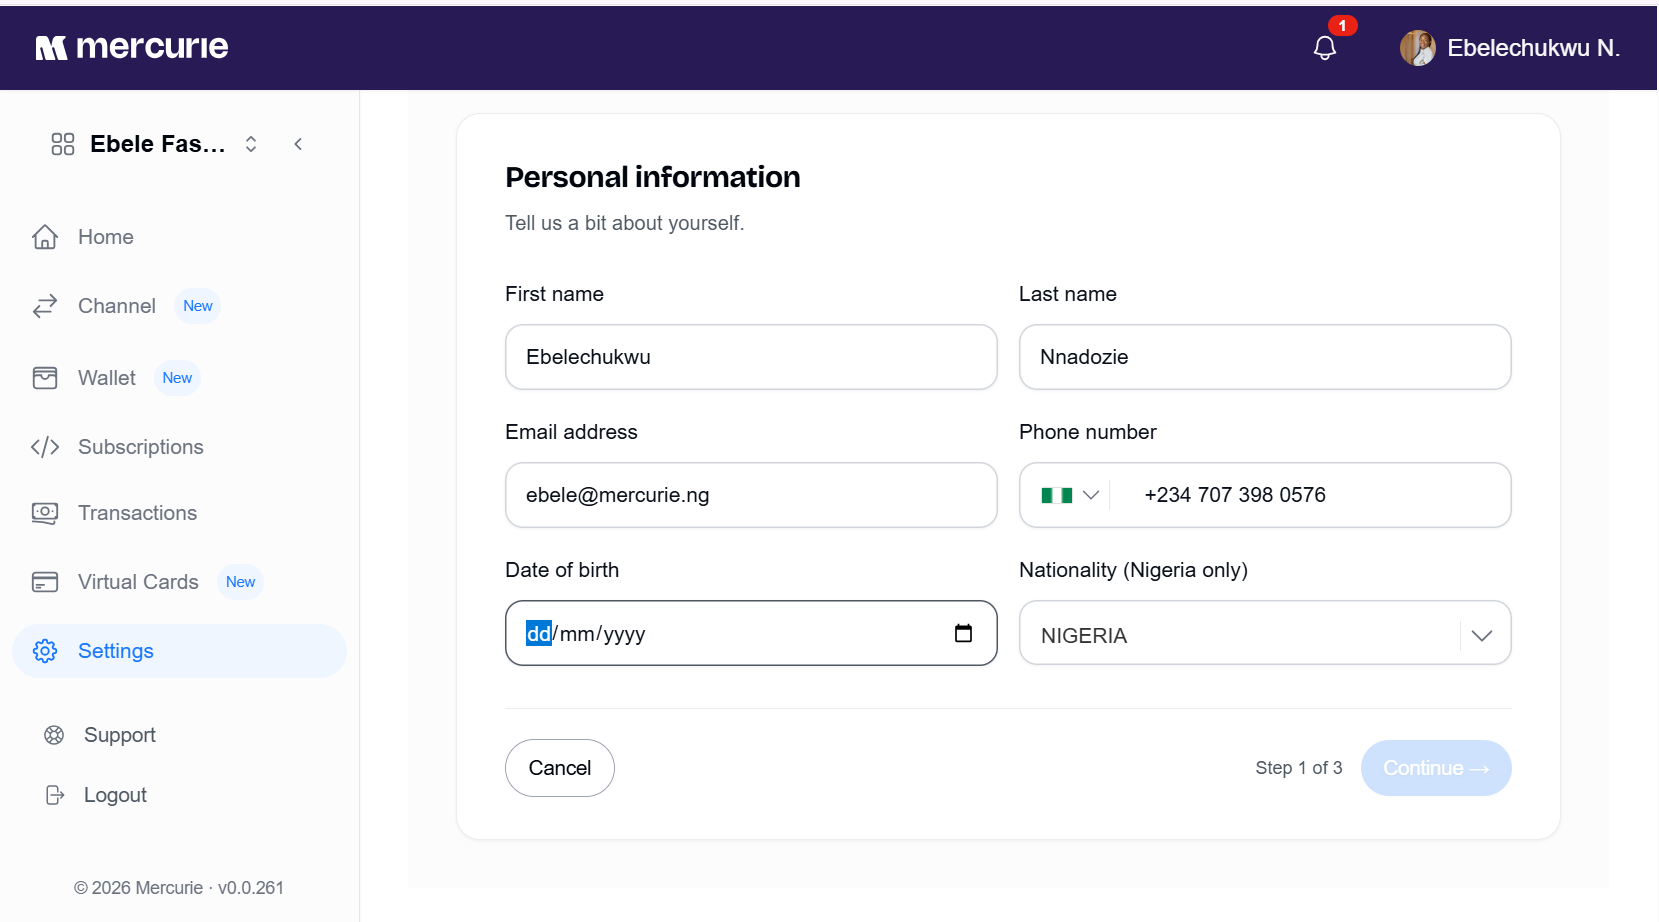
Side Note: Accurate information is essential for smooth identity verification.
Step 2: Verify your Identity
This is a standard regulatory requirement from our providers and will require your Bank Verification Number (BVN) or National Identification Number (NIN) for processing.
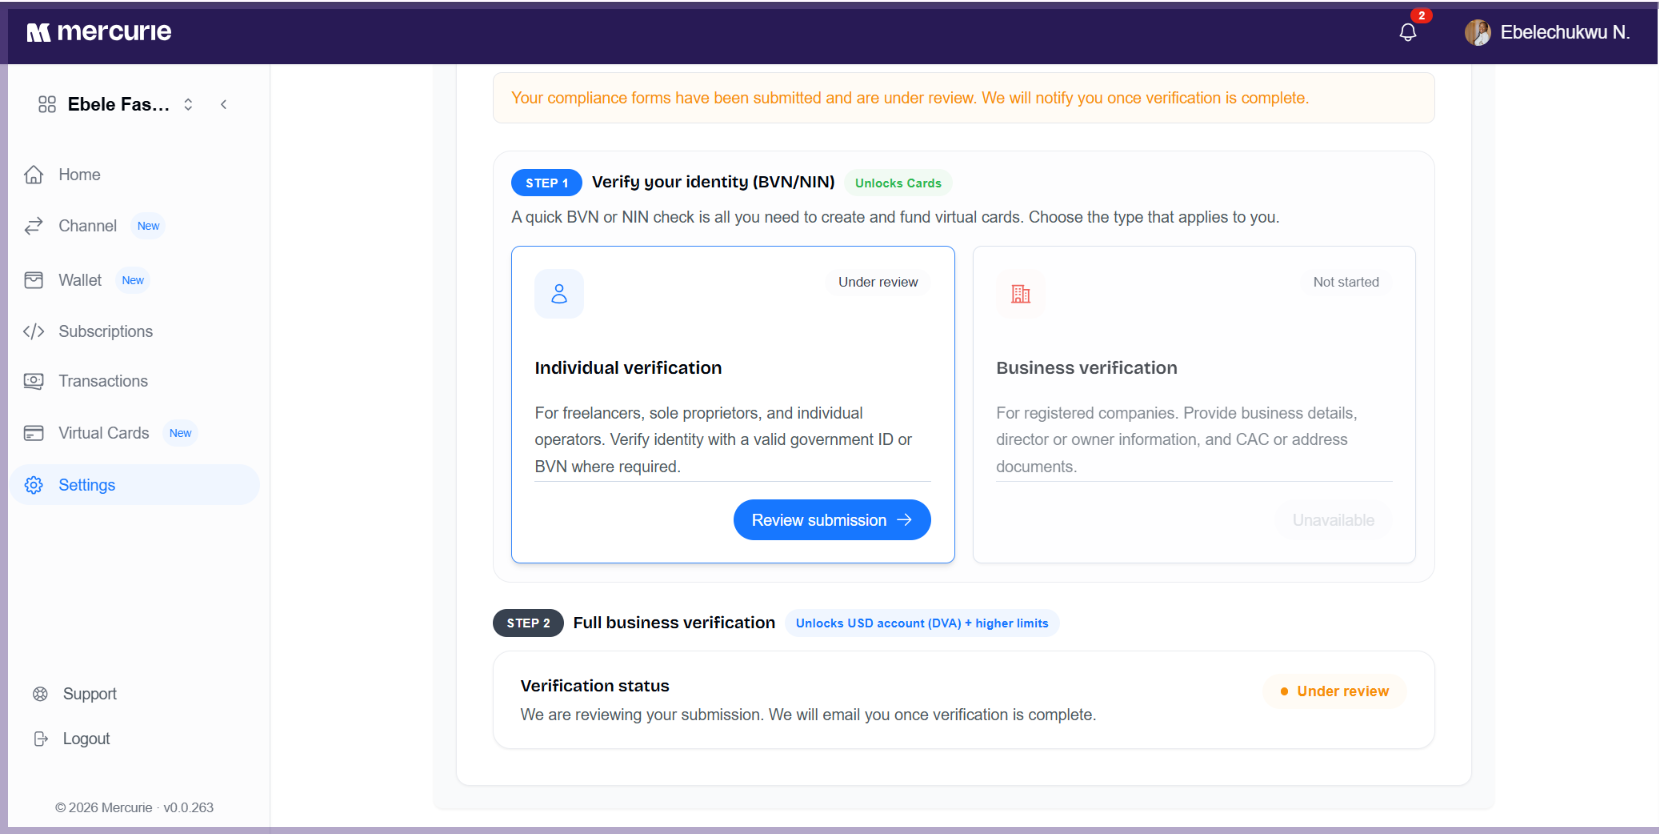
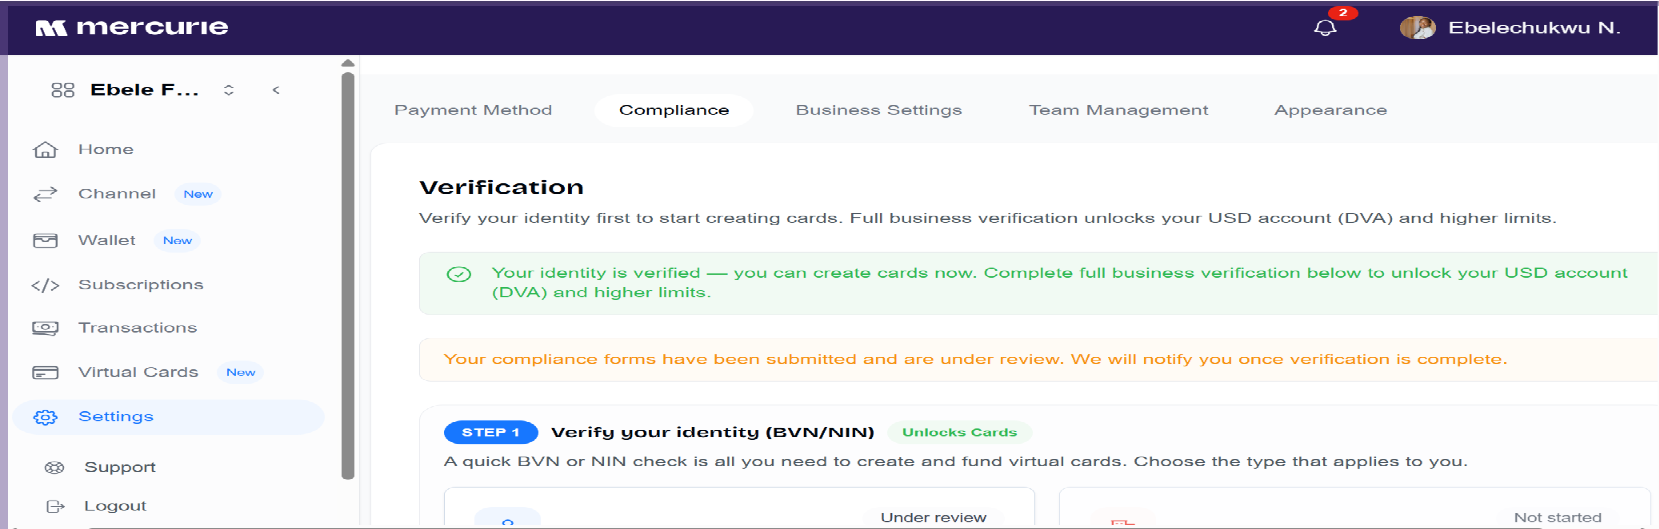
Once your document is successfully verified, you will receive an in-app notification, and the "Virtual Cards" section in the left-hand navigation menu will automatically unlock.
Step 3: Fund your Wallet
To begin using your cards, you need to load your Mercurie wallet.
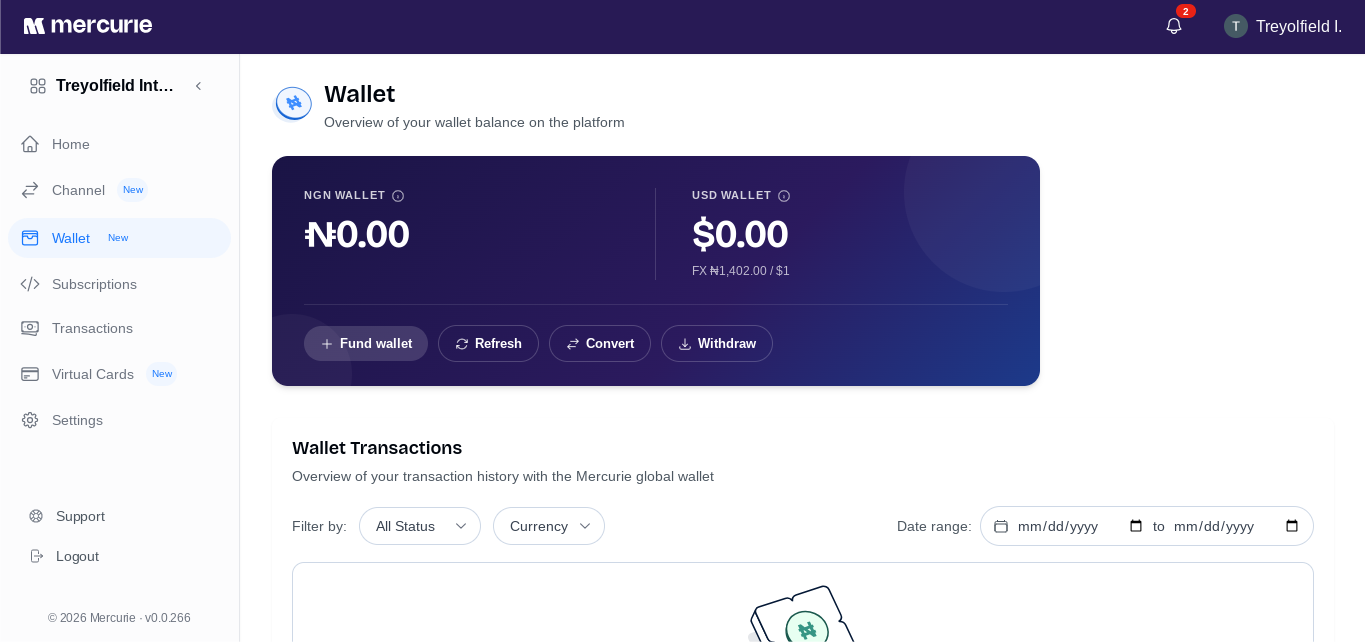
Navigate to the wallet section, and click on the 'Fund Wallet' button. Select 'Paystack with Paystack' as payment method and follow the prompts to complete wallet funding. Once your wallet is funded, your balance will reflect in the dashboard
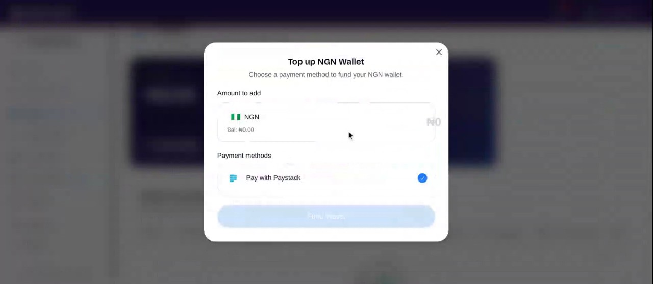
After funding your wallet with Naira, you can convert all or part of your balance to USD.
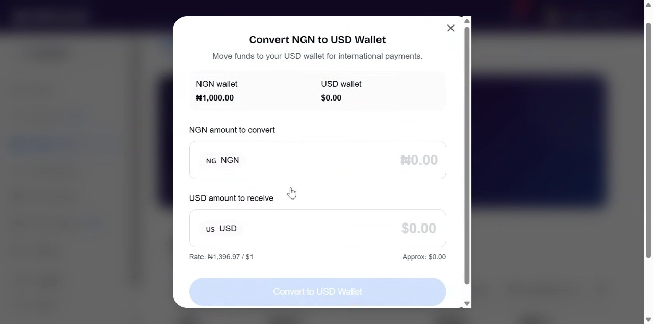
Once you fund your USD wallet, your balance will then be available to fund your USD cards. However, if you wish to create a Naira card, simply use your NGN wallet balance to fund your Naira card.
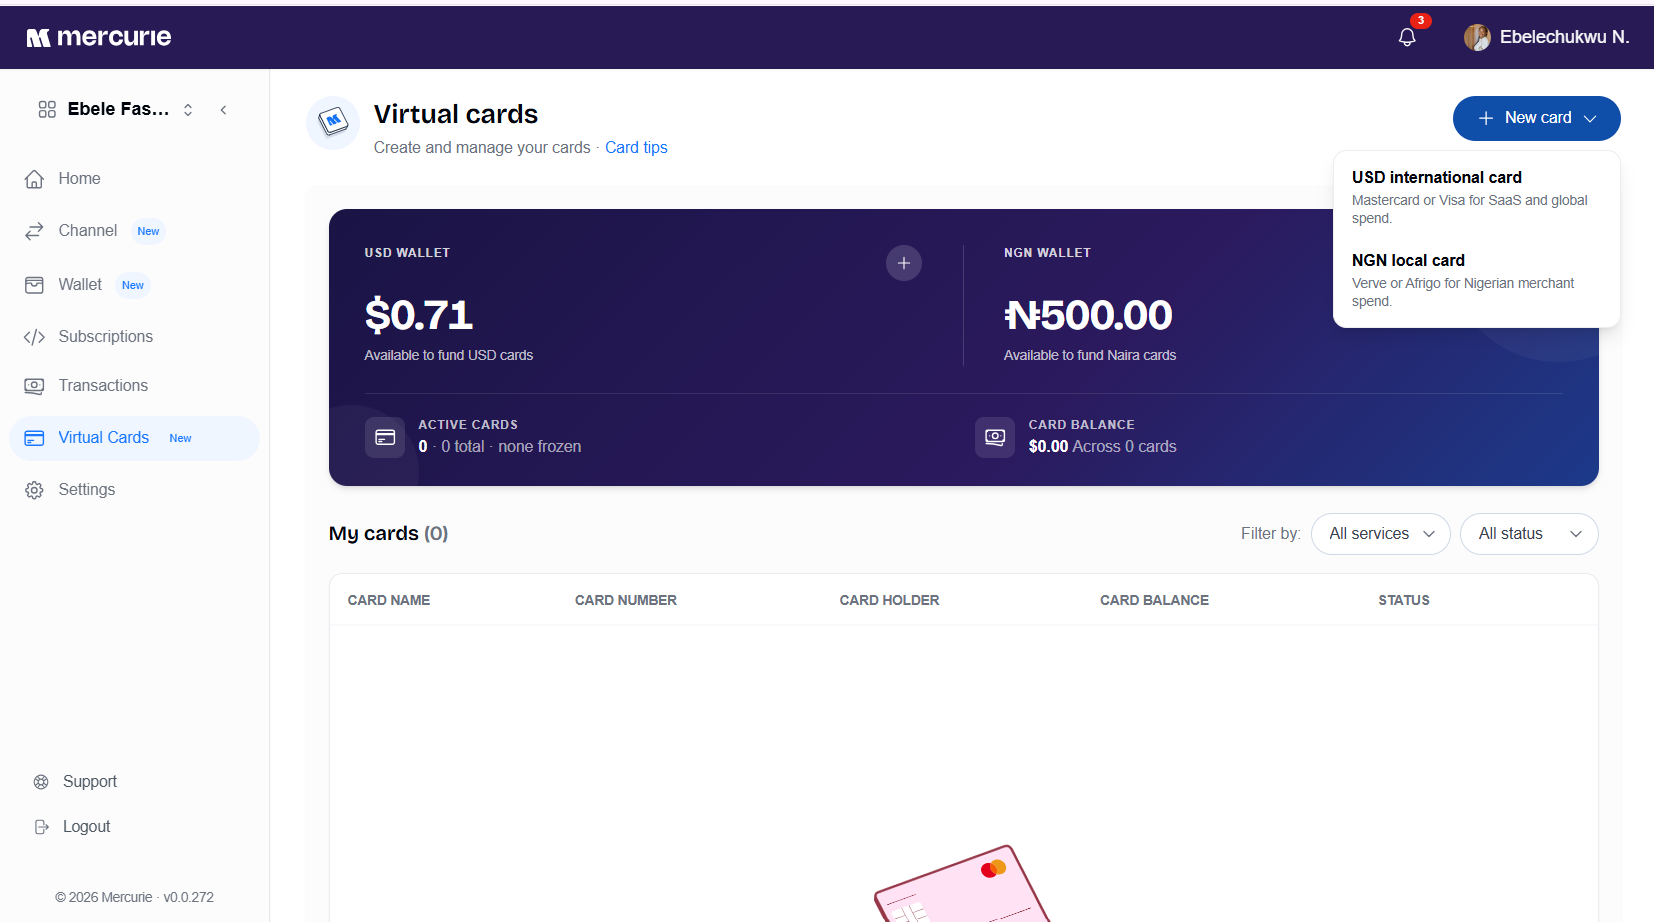
Step 4: Create your Mercurie Card
With your wallet funded, click on "Virtual Cards" in the sidebar. Select "Create New Card," assign it a meaningful name (e.g., "Google Ads" or "Travel" or "Cloud Services"), set your desired spending limits, and choose the currency. Click confirm to generate your card instantly.
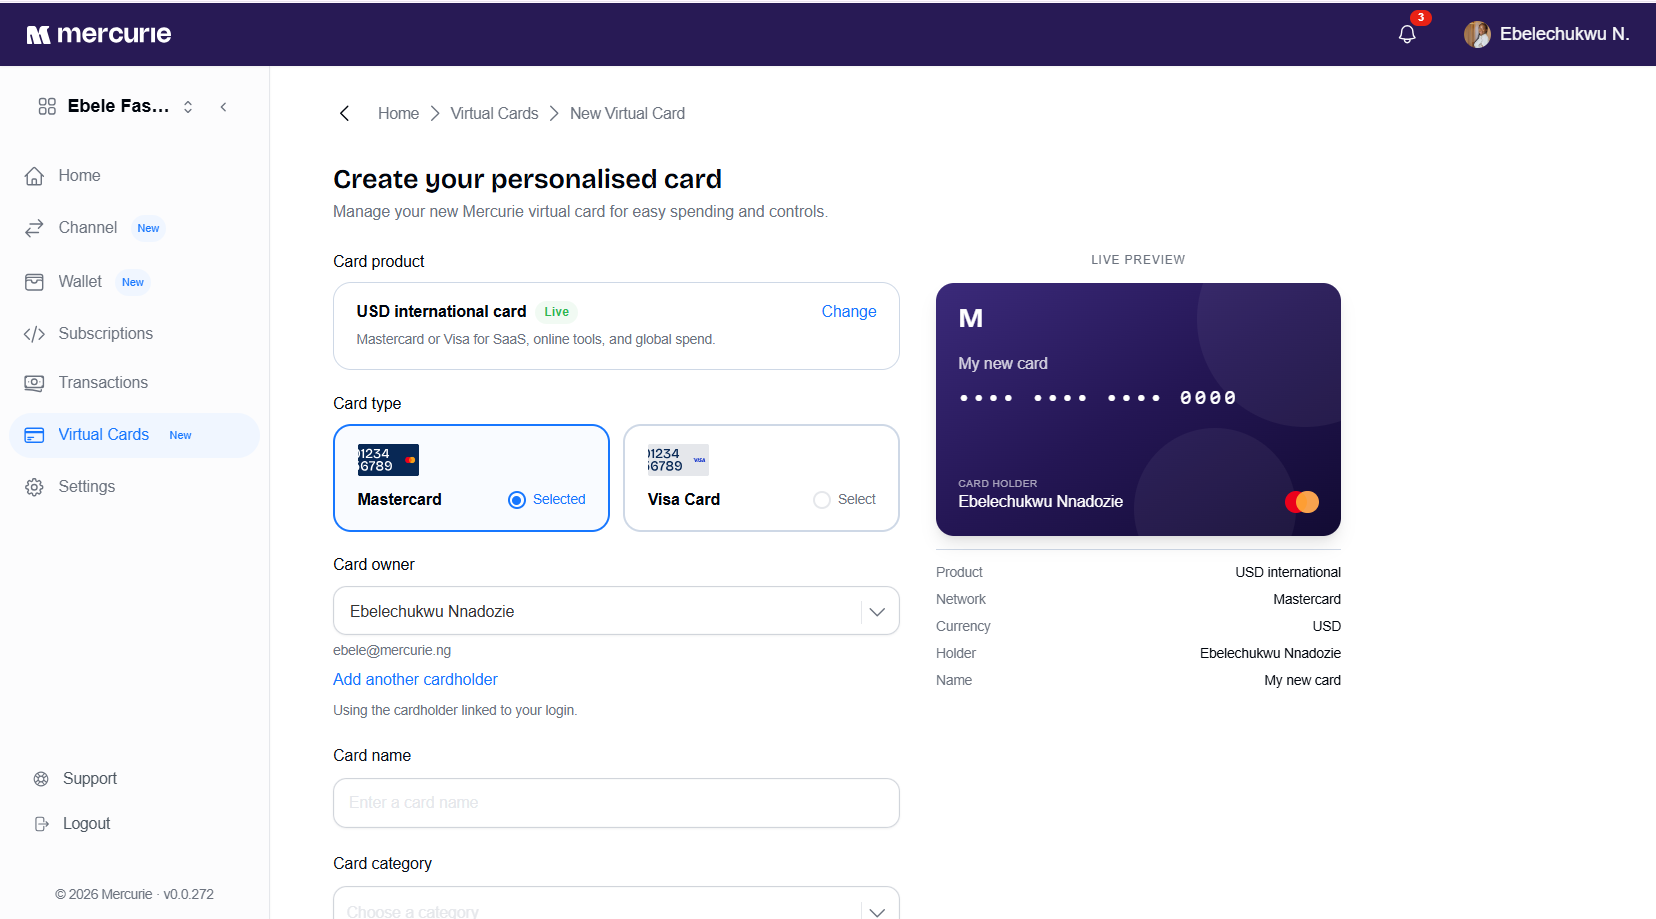
Give your card a descriptive name that reflects its intended purpose, such as 'Meta Ads,' 'Google Cloud,' or 'Software Subscriptions.' Using clear, specific names helps you easily track expenses and manage your budget across different services.
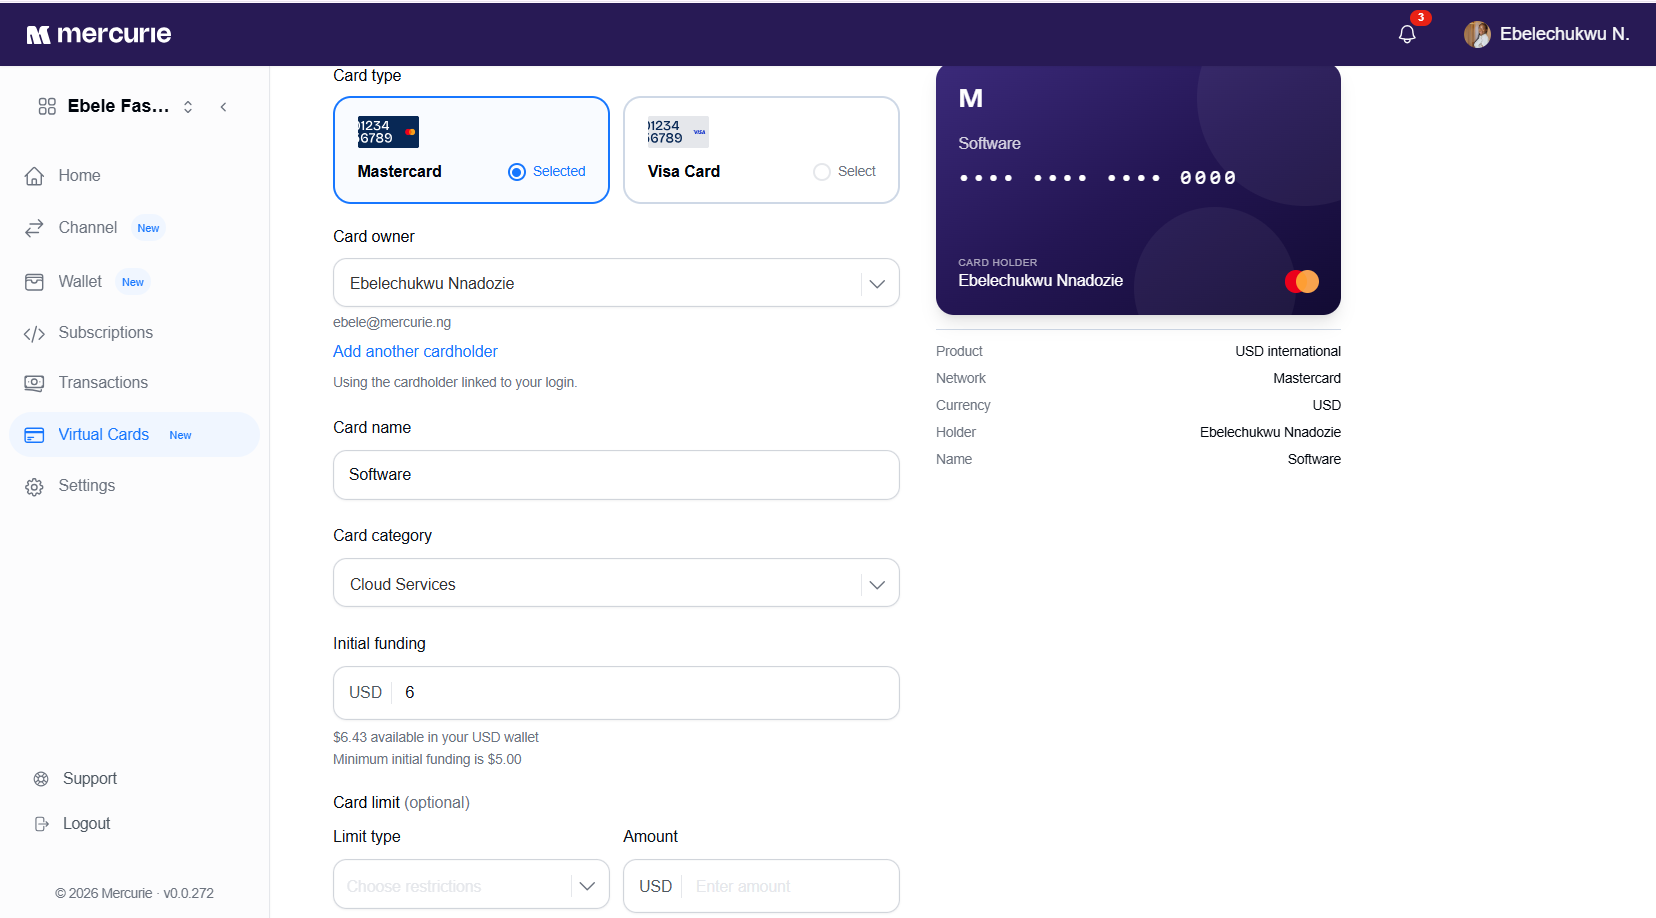
Side Note: Set appropriate spend limits to avoid card declines if you exceed your limit.
Step 5: View Your Card Details
Once your card is created, click on it from your Virtual Cards dashboard. You can now view your card number, CVV, and expiry date. Use these details to pay for your digital services, ads, or SaaS subscriptions.
Common Questions
Can Mercurie Card be used to pay for Google Workspace on the Mercurie Platform?
Yes, you can use your Mercurie Card to pay for your Google Workspace subscription on Mercurie. Alternatively, you could simply use the 'Pay via Wallet'.
Can it be used to pay for a USD Google Ads Account?
Yes, Mercurie USD virtual cards are specifically optimized for advertising platforms, including Google Ads, helping you avoid card declines and FX limits.
Is the card Tied to a Nigerian bank?
While your NGN wallet is funded via local bank transfers or Paystack, Mercurie virtual cards are international cards issued by our infrastructure partners, designed for seamless global payments.
Can it be funded in Naira?
Yes, Mercurie cards can be funded in Naira and you can convert between currencies.
Can I issue multiple virtual cards to team members for their SaaS subscriptions?
Yes. You can create individual virtual cards for each team member, allowing you to manage expenses efficiently. You can set specific spending limits for each card, providing your team with the flexibility to handle their SaaS subscriptions while you maintain full oversight and control from your central dashboard.
How do you fund your Virtual Card?
You can fund your Mercurie card from your Mercurie dashboard once you fund your Wallet.